
62 lines
2.8 KiB
Markdown
62 lines
2.8 KiB
Markdown
# MQTT Configuration
|
|
To enble/disable schedulers in the frontend and/or in an automation, you can use this feature. This allow to create dynamic switches entities in Home Assistant for each scheduler.
|
|
The switch is in this form:
|
|
`switch.simplescheduler_id_scheduler_name`
|
|
Switch is created within a minute of the creation of a new scheduler, and removed as you delete a scheduler.
|
|
To use the feature you need three things:
|
|
1. a MQTT server (also named *broker*)
|
|
2. enable the MQTT integration in Home Assistant
|
|
3. activate the feature in Simplescheduler
|
|
|
|
It's less complicated than it seems!
|
|
|
|
## If you already have MQTT in Home Assistant
|
|
Set up Simplescheduler to point to your MQTT broker and set *Enabled* to *true*
|
|
|
|
MQTT:
|
|
enabled: true
|
|
server: your_mqtt_server_address
|
|
port: '1883'
|
|
username: your_mqtt_user
|
|
password: your_mqtt_password
|
|
|
|
If auth is not used, leave the *username* and *password* fields empty.
|
|
You also need the MQTT Integration in your Home Assistant with discovery enabled. If you use MQTT you should already have it but if you don't, take a look at step 2 in the next section.
|
|
|
|
## If you don't have MQTT configured
|
|
You have to follow three simple steps:
|
|
|
|
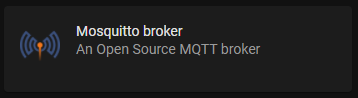
#### 1. Install the addon "Mosquitto broker"
|
|
Install the addon "Mosquitto broker", start it and enable "Start on boot".
|
|
No configuration needed.
|
|
|
|
|
|
#### 2. Install the MQTT integration
|
|
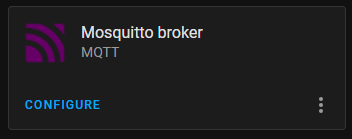
In ***Configuration > Device & Services*** add the MQTT integration.
|
|
If you succesfully complete the prevous task, Home Assistant should automatically discover the integration and notify you to add it.
|
|
|
|
|
|
|
|
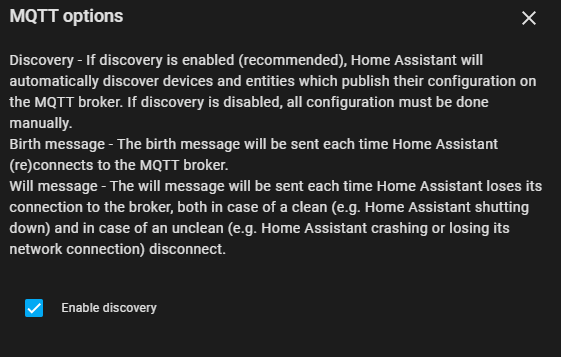
Click on CONFIGURE and leave all the default, but be sure to enable auto discovery
|
|
|
|
|
|
|
|
|
|
|
|
|
|
#### 3. Configure Simpleschedule
|
|
Simplescheduler is already pre-configured to use the Mosquitto Addon, so leave the *server* and the *port* parameter as default.
|
|
Set *enabled* to *true* and add the username and the password that you use to login in Home Assistant.
|
|
|
|
MQTT:
|
|
enabled: true
|
|
server: core-mosquitto
|
|
port: '1883'
|
|
username: your_homeassistant_user
|
|
password: your_homeassistant_password
|
|
|
|
After that, restart the addon.
|
|
|
|
If, for some reason, you don't want to write your HA credentials in the addon, you can use the credential that the MQTT integration use to talk to the MOSQUITTO addon.
|
|
The username is always *homeassistant* while the password is randomly generated during the addon installation. You can retrieve it in the MQTT integration by clicking on "RE-CONFIGURE MQTT", reveal the password with the eye icon and then copy the password.
|